

Create and run the first backup
This walkthrough uses the Huawei Cloud OBS repository created in the previous step and backs up all content under C:\HFL-Quickstart. Start with the small test directory before expanding the scope.
Assign the target repository
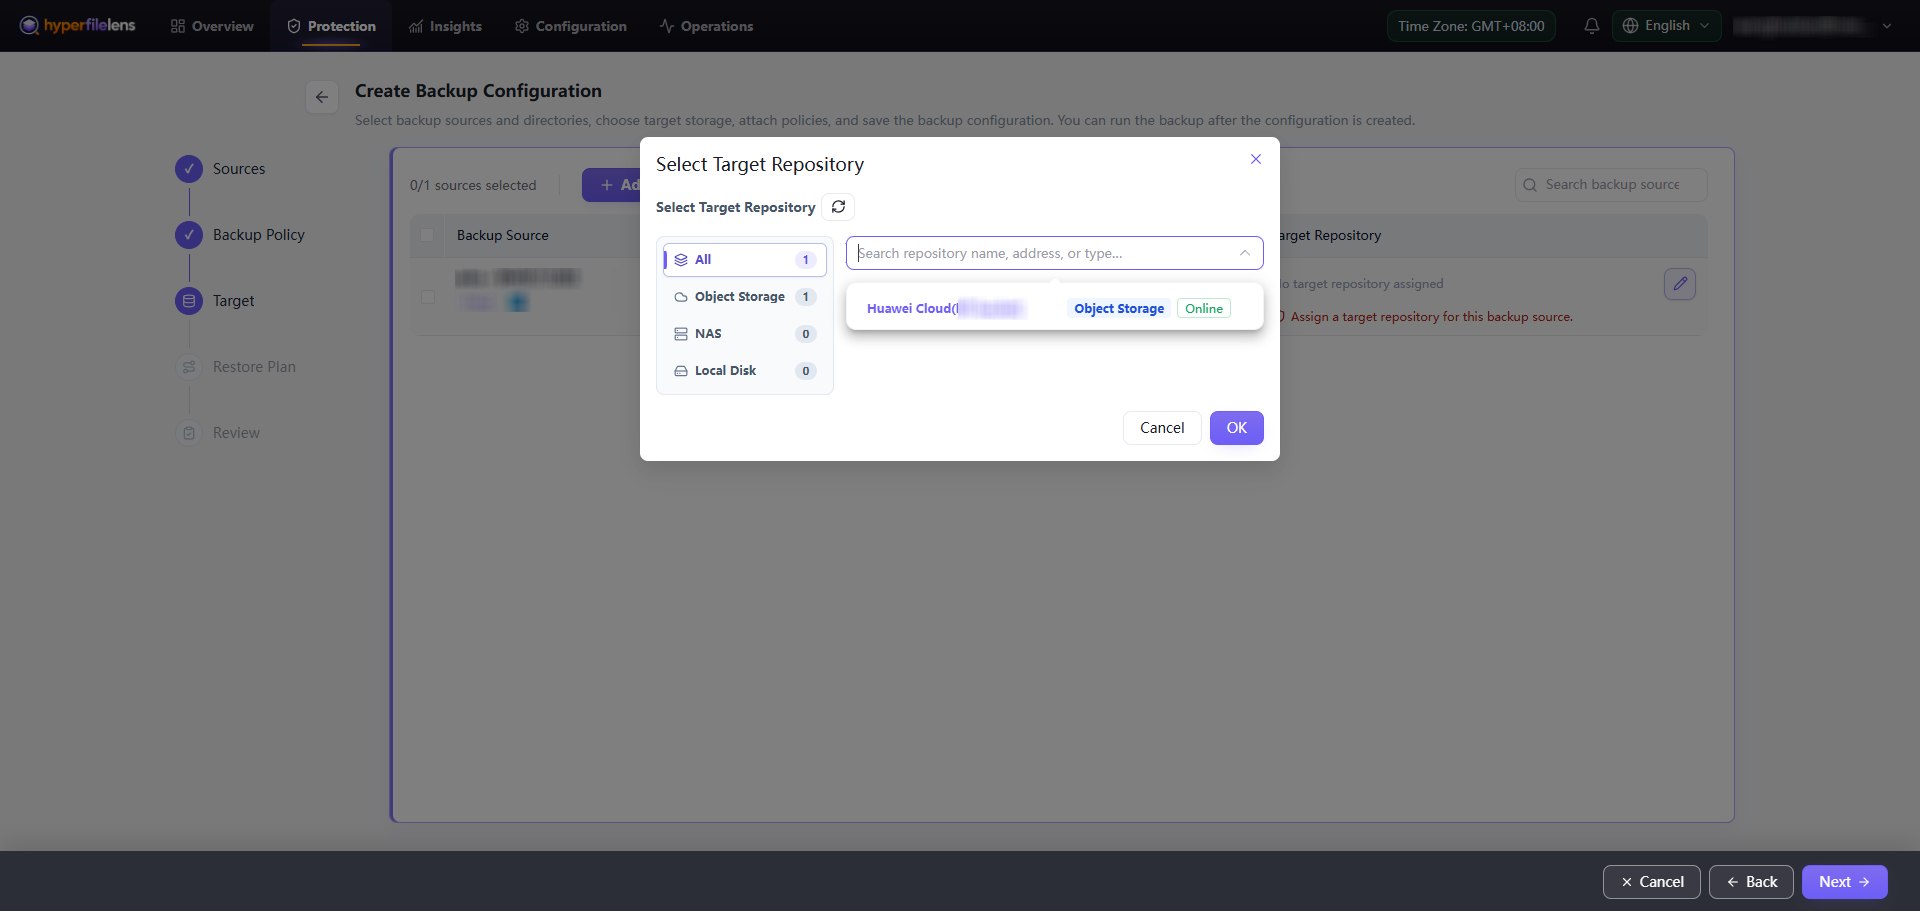
- Return to the Target step and select the edit icon on the source row.
- In Select Target Repository, select the Huawei Cloud repository you created.
- Select OK.
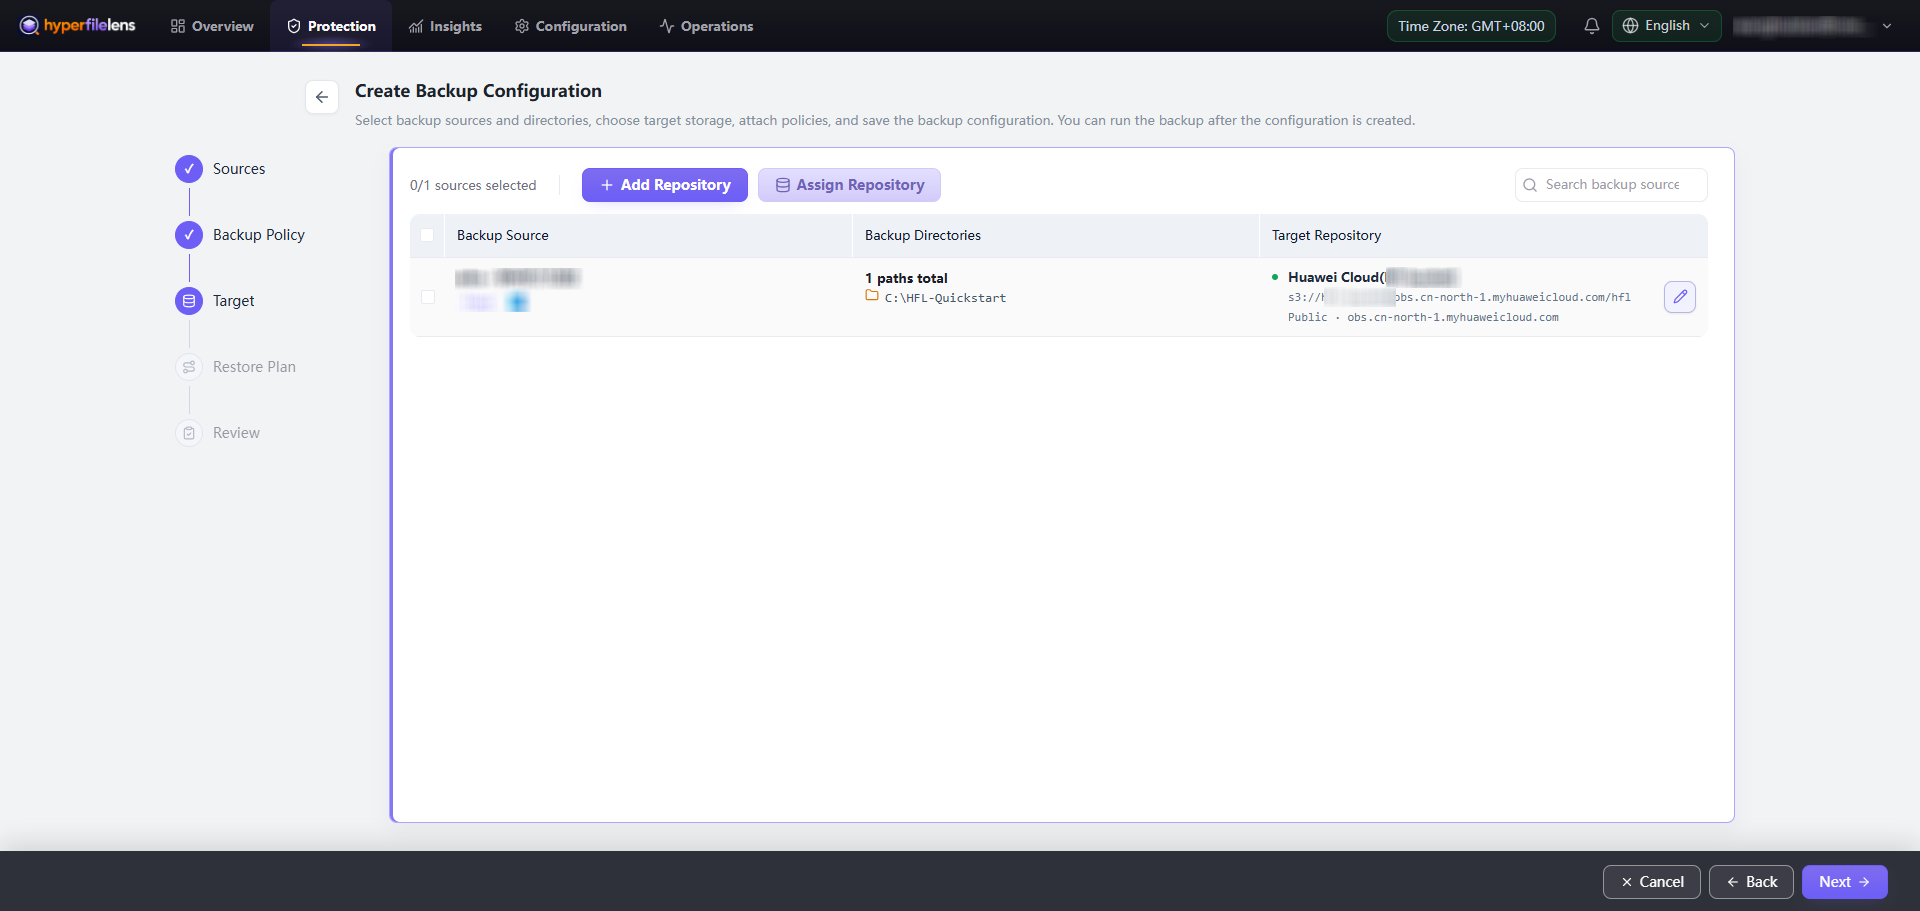
- Confirm that the target column shows the repository, Object Storage, and Online.
Optional restore plan
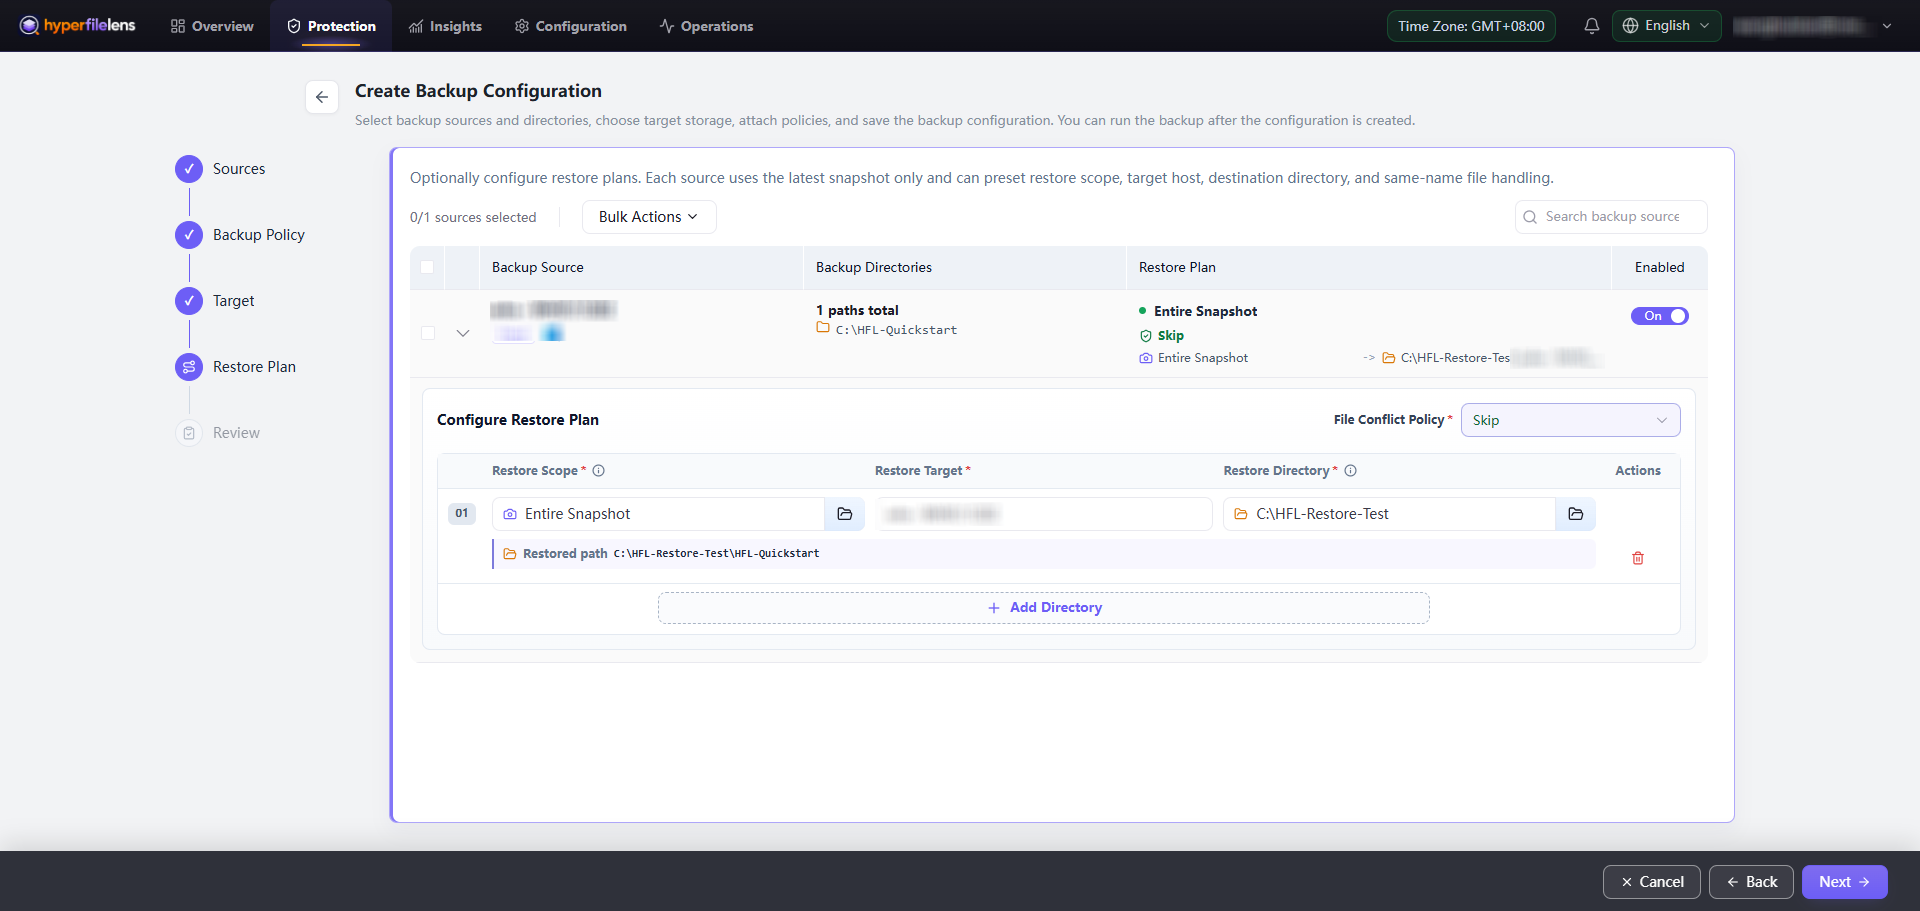
Select Next to open Restore Plan. A restore plan is optional and preconfigures the restore scope, target node, destination directory, and how files with the same name are handled.
Enable a restore plan when the same restore rule will be reused. For temporary restores, historical versions, or changing the destination, use a manual restore instead. For this first backup, leave the plan unconfigured and select Next.
Review and create the configuration
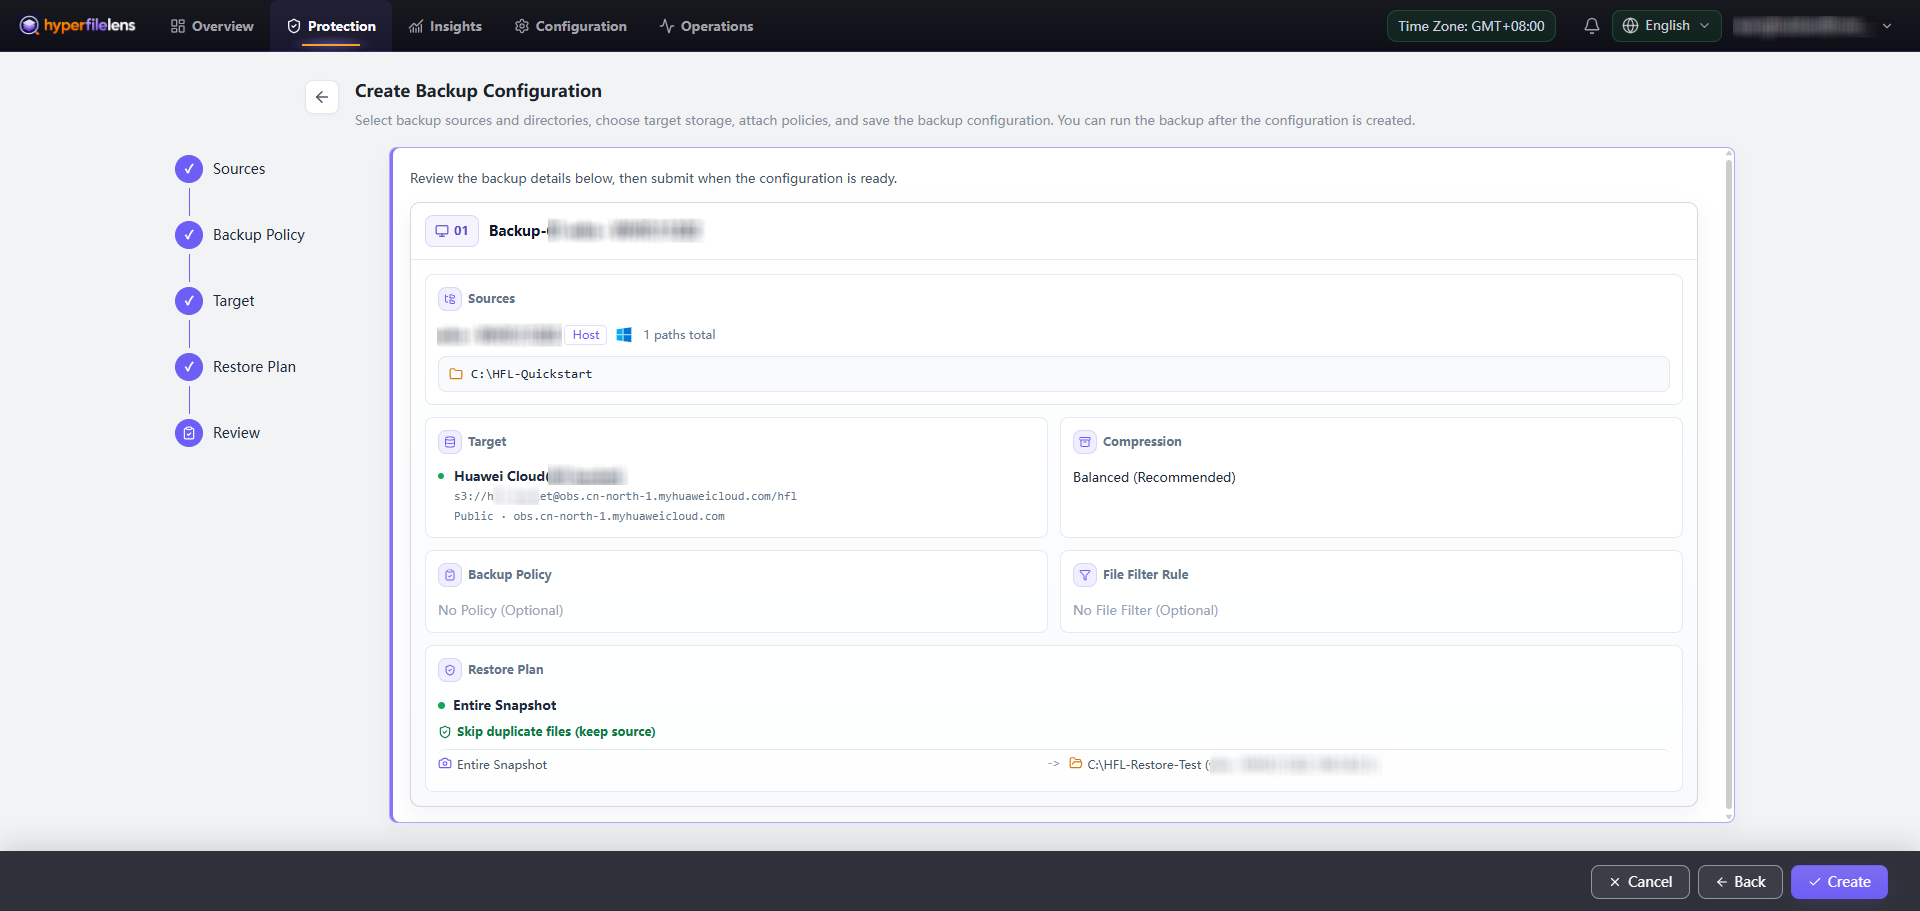
- On Review, check the source,
C:\HFL-Quickstart, target repository, compression, policy, filter, and restore-plan settings. - When the summary is correct, select Create.
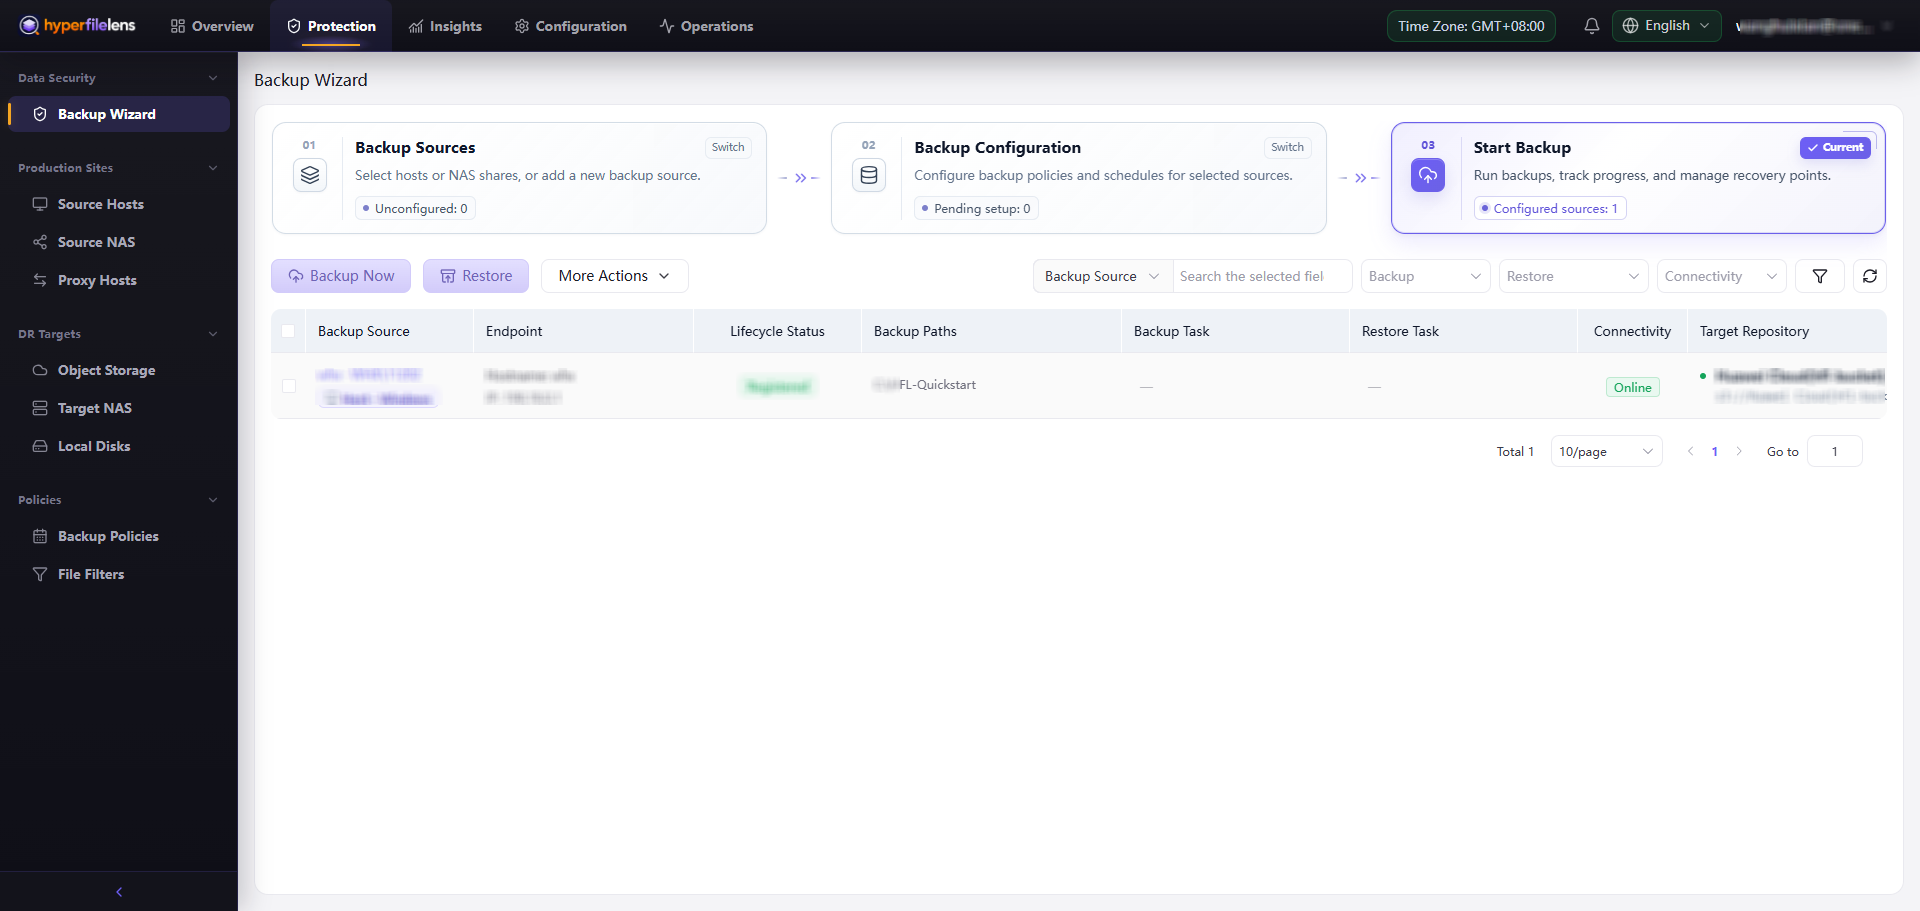
After creation, the wizard returns to Start Backup. The table lists the backup path, target repository, connectivity, and task status.
Run the first backup
- On Start Backup, confirm that the target repository Connectivity is Online.
- Select the Windows backup source.
- Select Backup Now.
- Monitor the task in the Backup Task column.
- Wait for the task status to become Succeeded.
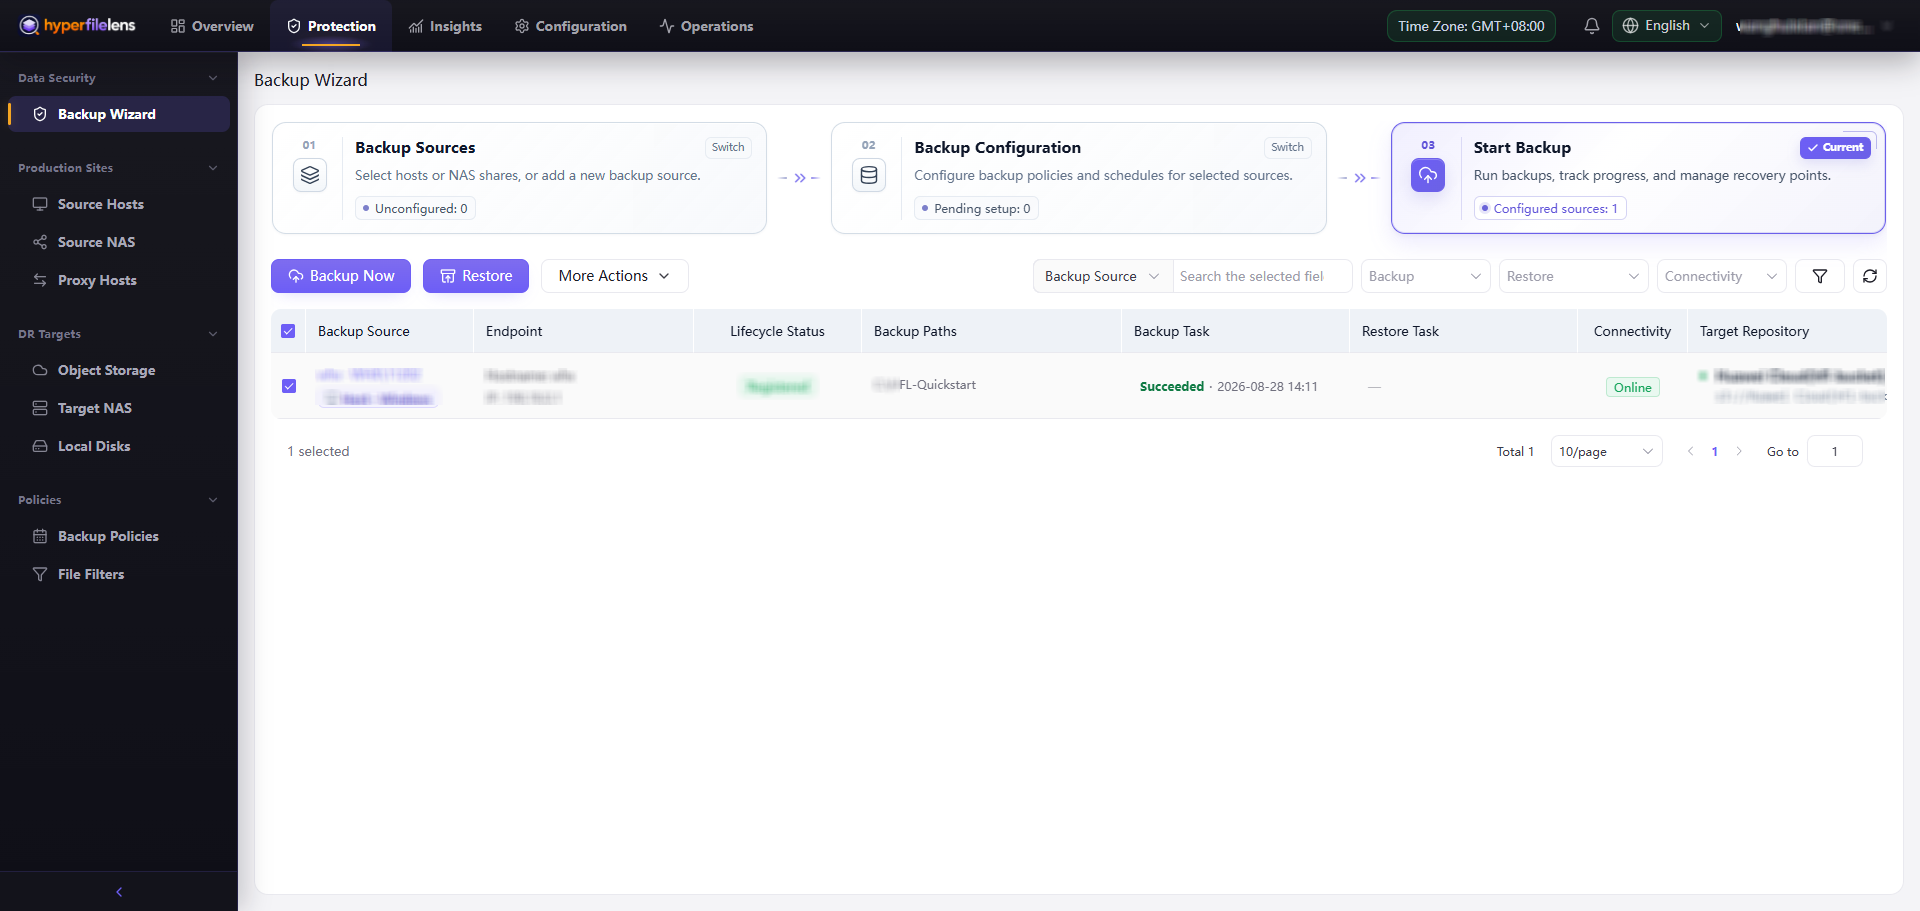
Do not close the Windows Agent or change the repository credentials while the task is running. Continue to task and snapshot verification only after Backup Task shows Succeeded.